โปรแกรม GLPI Agent เป็นโปรแกรมสำหรับดึงค่าสเปค หรือ Resource ต่างๆ ที่อยู่ในคอมพิวเตอร์ เช่น ชื่อ User จอมอนิเตอร์ ปริ้นเตอร์ อุปกรณ์ต่อพ่วงต่างๆ สเปค CPU Ram Mainboard โปรแกรมต่างๆ เอาเป็นว่า ทุกอย่างที่อยู่ในคอมพิวเตอร์นั้นๆ แล้วส่งค่าไปยัง inventory ของ
โปรแกรม GLPI Server แบบอัติโนมัติ
โปรแกรม GLPI Agent รองรับบน Windows MacOSX Linux Android
ดาวน์โหลดโปรแกรม GLPI Agent :
GLPI-Agent Nightly Buildsดาวน์โหลด แอพฯ GLPI Agent บน Android :
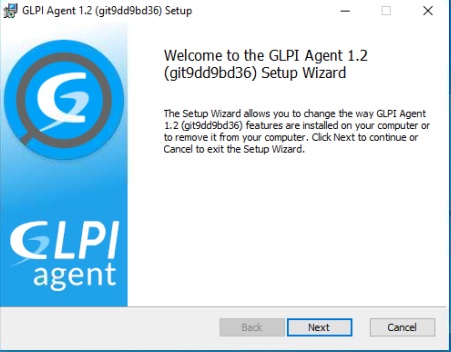
https://play.google.com/store/apps/details?id=org.glpi.inventory.agent## วิธีการติดตั้งโปรแกรม GLPI Agent ##1. ดับเบิลคลิก ติดตั้งโปรแกรม GLPI-Agent คลิก Next
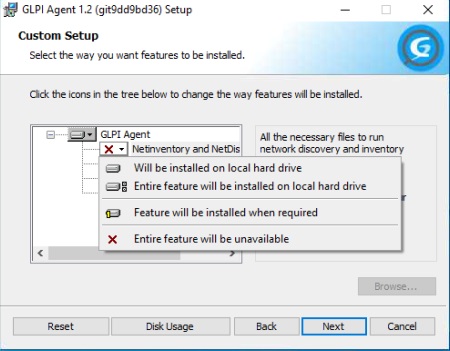
2. เลือกเมนูที่ x สีแดง แล้วเลือก "Will be installed on local hard drive" คลิก Next
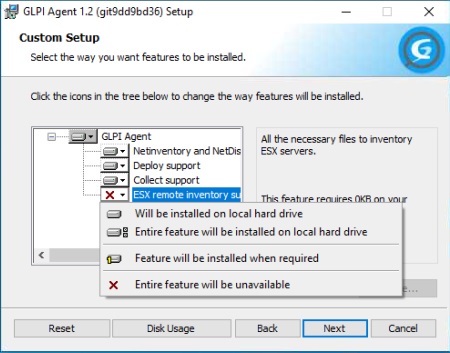
3. เลือกเมนูที่ x สีแดง แล้วเลือก "Will be installed on local hard drive" คลิก Next
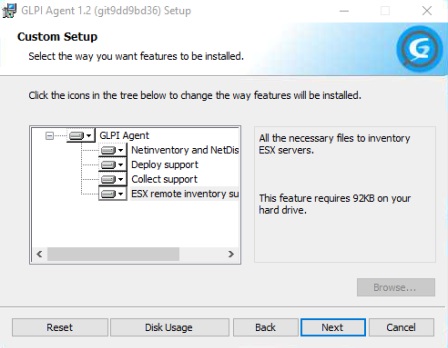
4. คลิก Next
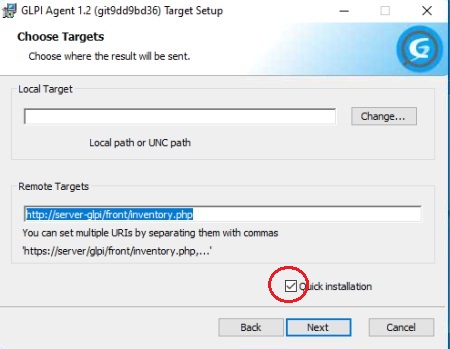
5. กรอก Remote Target ของท่าน คือ hpp://ip-server/front/inventory.php
จากนั้น ติ๊กเครื่องหมายออกจาก Quick installation แล้วคลิก Next
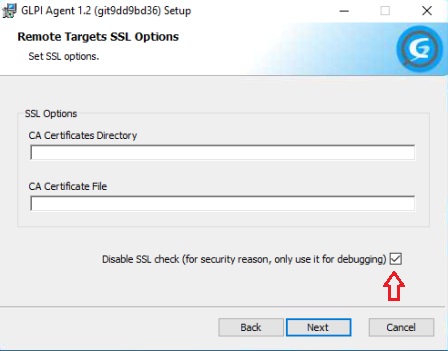
6. ติ๊กถูก ในช่อง Disable SSL check แล้วคลิก Next
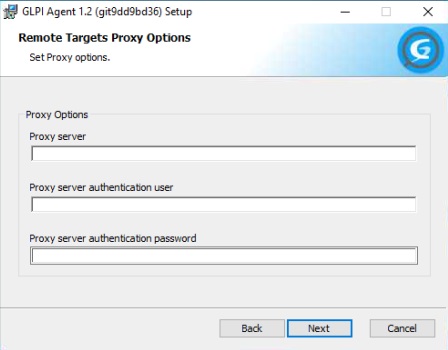
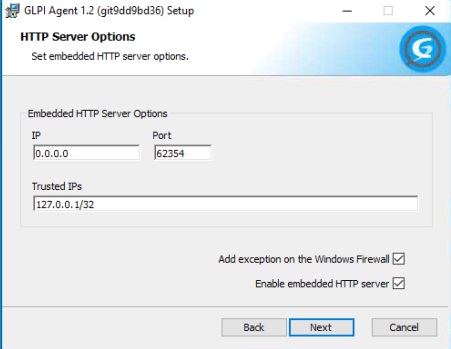
7. แล้วคลิก Next
8. ติ๊กถูก ในช่อง As a Windows Service กับ ในช่อง Run inventory immediatly after installation หมายถึง ให้รันโปรแกรมหลังติดตั้ง
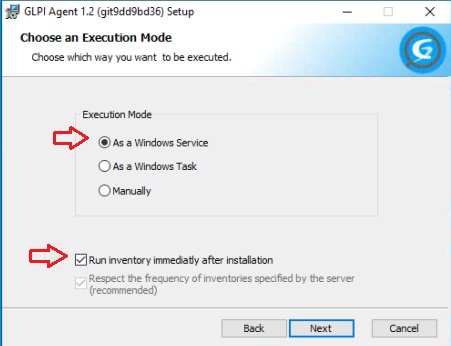
9. แล้วคลิก Next
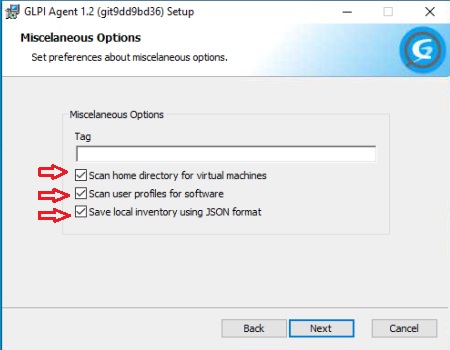
10. ให้ติ๊กถูก ทั้ง 3 ช่อง แล้วคลิก Next
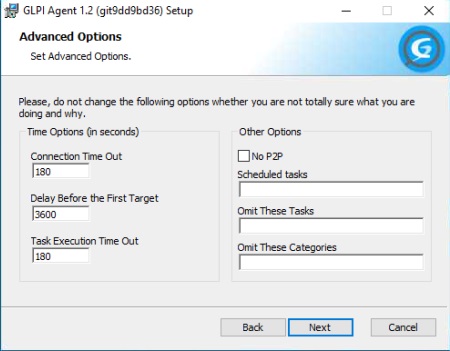
11. แล้วคลิก Next
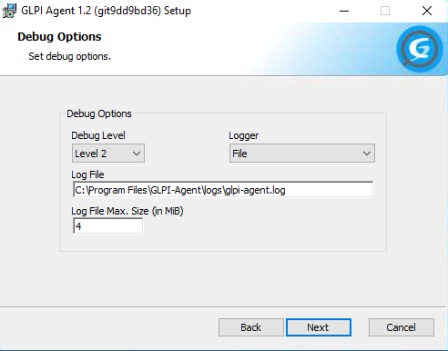
12. เลือก Debug Level 2 แล้วคลิก Next
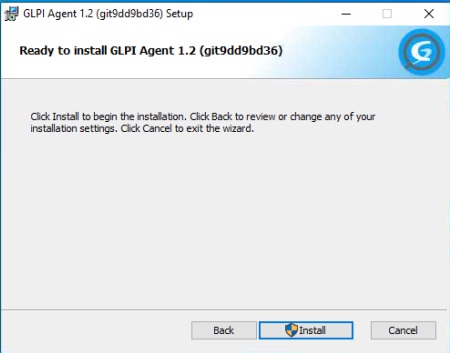
13. คลิก Install
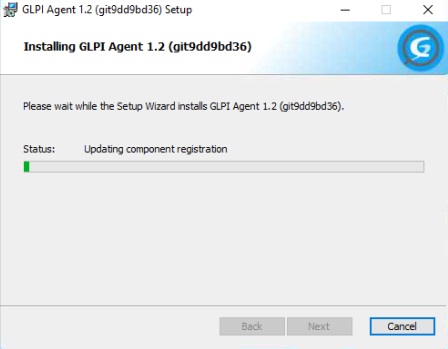
14. รอโปรแกรมติดตั้ง
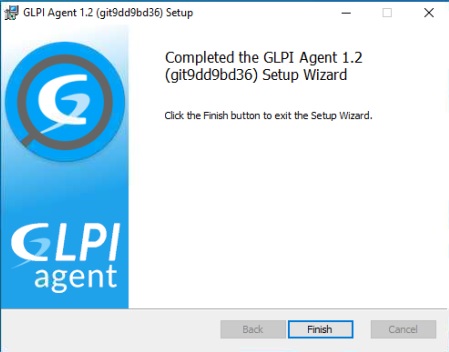
15. คลิก Finish ติดตั้งโปรแกรมเสร็จ
16. ให้เข้าไปที่ services ของ Windows แล้วหา Service ชื่อ glpi-agent แล้วคลิกขวา Restart Service 1 ครั้ง
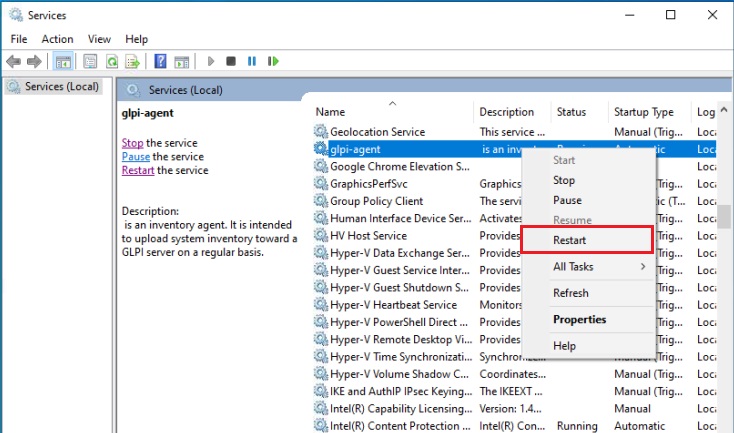
เป็นอันเสร็จการติดตั้ง GLPI Agent
#glpi-agent #การติดตั้งGLPI-Agent
 0 ตอบ
0 ตอบ 2292 อ่าน